I chose this recipe not because of its cultural authenticity, but because I love marble cakes. The name caught my attention immediately, the image of chocolate and vanilla swirled every bite made my mouth water. This recipe calls for cake flour which I didn't have, but I will show in this blog post, along with the cake, how to make cake flour at home in less than 5 minutes. The only other marble cake I'd made was a marbled pumpkin cheese cake (very delicious), so I was excited to see how this cake would turn out.
 |
| Ingredients |
The ingredients were relatively straight forward for a cake: nothing out of the ordinary.
 |
| Floured Cake Tin |
The recipe calls for a 9 inch spring-form pan, which I buttered and floured.
 |
| Cake Flour: Step 1 |
Start by removing 2 tablespoons of flour for every cup you use.
 |
| Cake Flour: Step 2 |
Next, replace the discarded flour with 2 tablespoons of cornstarch.
 |
| Cake Flour: Step 3 |
Finally, after mixing in the cornstarch, put all of it through a sifter into a separate bowl. So there you have it, the key to never having to buy cake flour again. I learned this technique from a different blog that my mom likes,
Mel's Kitchen Cafe.
 |
| Finally Starting the Batter |
The first step was to cream the butter until it clung to the sides of the bowl. The recipe suggests using unsalted butter, but I always use salted butter because it's better for everything.
 |
| Adding the Sugar |
I added the sugar in small increments to the butter until the batter became light and fluffy.
 |
| Incorporating the Eggs |
I added 3 of the eggs one at a time while the batter churned slowly, except for the 4th one. I whisked it in a separate bowl, and then added it directly after the other eggs. I'm really not sure why the recipe instructed for this to be done, but I'm sure there was some reason behind it.
 |
| More Sifting |
The recipe calls for baking powder sifted into cake flour. There's no such thing as flour that's too light when it comes to making a cake, so I didn't mind.
 |
| Finished Batter |
Once all the flour and baking powder was sifted, I added it in three batches to the batter, along with a teaspoon of vanilla. Although somewhat dense, the batter tasted delicious.
 |
| Marbling: Step 1 |
I started by separating out 2 cups of the batter and adding another teaspoon of vanilla.
 |
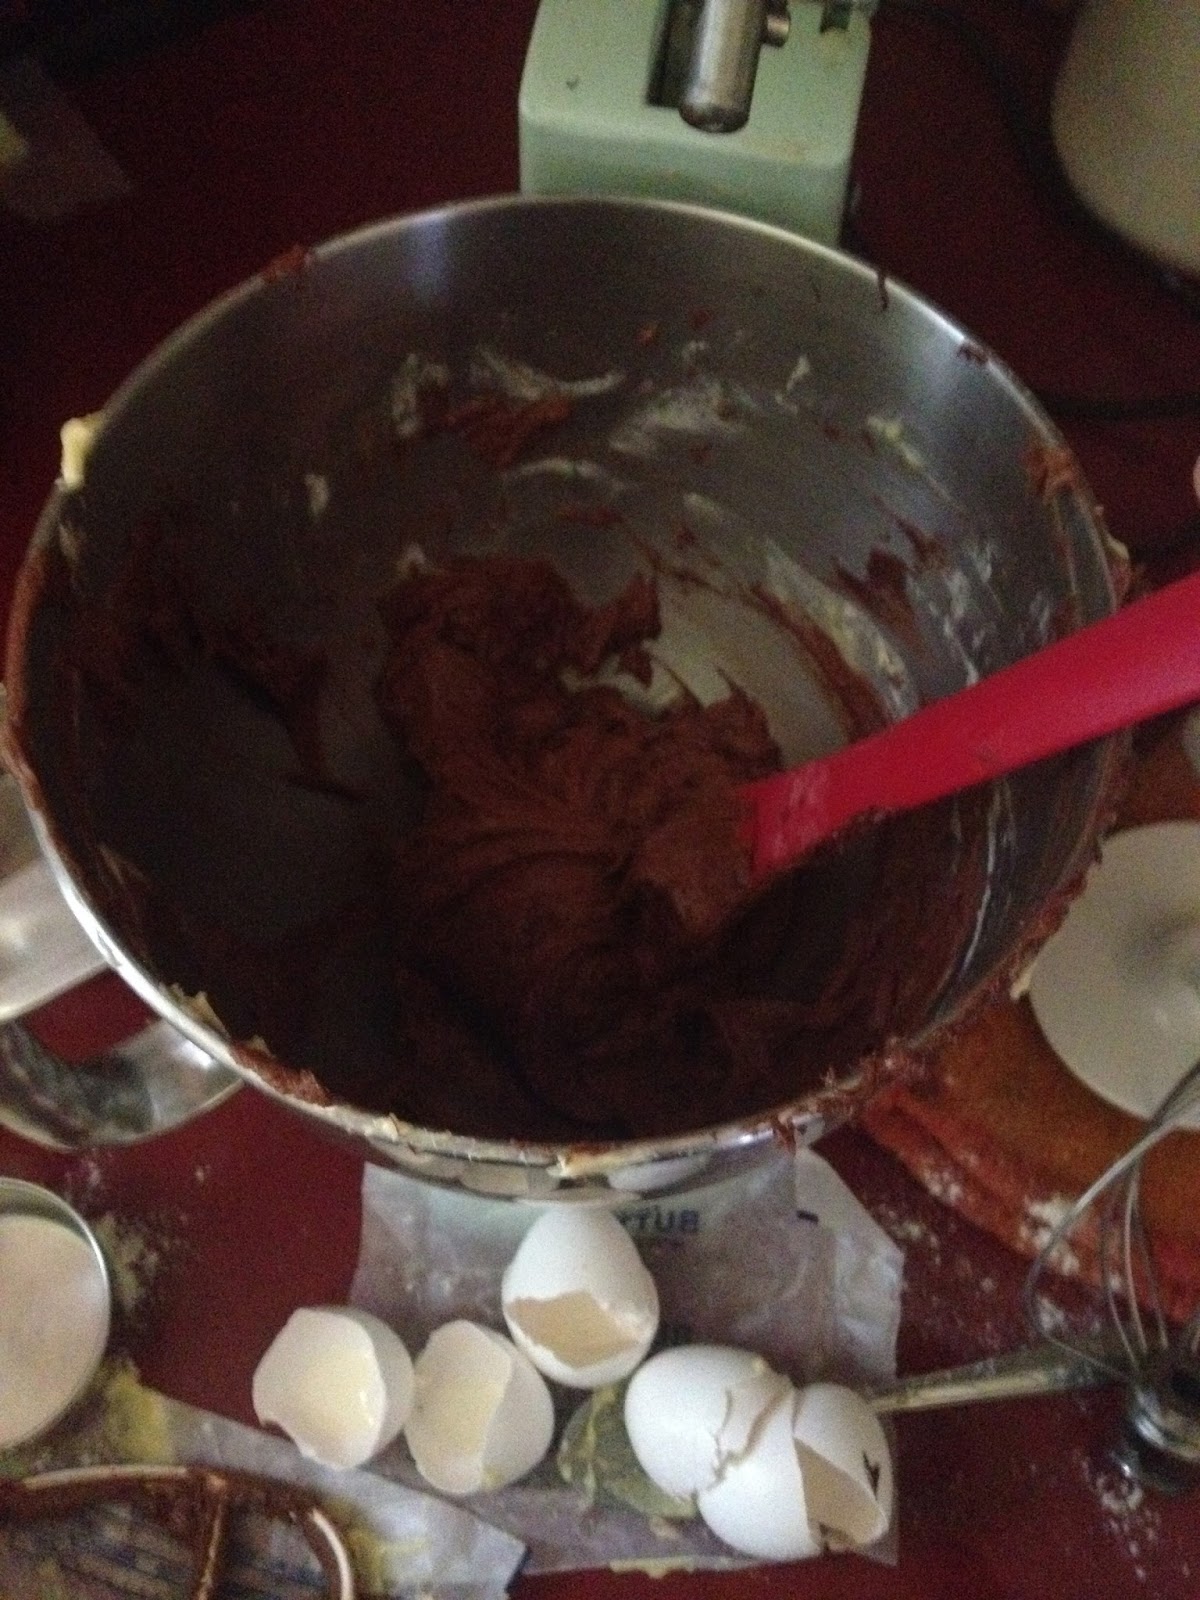
| Marbling: Step 2 |
Next, with the remaining batter in the bowl, I added about 4 ounces of melted semisweet chocolate.
 |
| Marbling Step: 3 |
I had my doubts when I looked down and saw more pan than cake, but my worrying was soon resolved. I continued by doing another layer of chocolate and vanilla.
 |
| Marbling: Step 4 |
I shook the pan around and banged it on the counter until the batter was evenly distributed. Once this was done, I could actually begin marbling.
 |
| Marbling: Step 5 |
I used a butter knife and swirled through the entire cake until the entire surface was covered in thin wispy lines.
 |
| Finished Product |
The cake had a perfect combination of chocolate and vanilla. That's what I love about marble cakes; they offer a different ratio of flavor in every bite. Sometimes the whole thing is chocolate, sometimes vanilla, but one thing that is consistent is the unifying delectability. The two are only one ingredient apart, so they still share many of the same fundamental flavors. I would recommend this dessert to anyone whose in the mood for a light cake and has an afternoon to spare.


No comments:
Post a Comment
Take a bite.